How to Make an Area Rug out of Carpet Remnants
Want to spend $1,000 on an elegant area rug?
Me either.
But what about making your own area rug? You get to make it your own and save money at the same time. Luckily, making your own area rug out of remnants can be simple and inexpensive.
Just set aside a rainy today for arts and crafts, and you’ll have a rug before the storm ends. Let’s start:
Why would you want to make an area rug out of remnants?
There are many benefits to making an area rug out of remnants, but here’s a few:
- cheap way to create an area rug
- fun interior design project
- good DIY project for mother earth: keep the remnant out of the landfill
- you have spare carpet you want to find a good use for–sell it at a garage sale!
- you love a piece of carpet remnant and want to turn it into a rug
You can probably come up with many other good ideas, but these were just a few off the top of my head. Now let’s dive into what materials you’ll need.
Materials
For this project you will need:
- Carpet Remnants
- Binding Strip (click here to buy)
- Corrugated cardboard (used as a cutting “board”)
- Carpet Knife (or razor to cut through the carpet)
- Hot Glue Gun (inexpensive and preferably with multiple tips – like this one)
- Carpet Binding Stapler (optional)

Captain’s tip! If you buy the carpet binding above, note that it comes in 5ft lengths. To find how much you need, measure and add up all 4 edges of your rug. Then, divide this number by 5. Round up whatever number you get to the nearest number (eg if you get 3.2 round it up to 4. This is the “quantity” you should order. If this is confusing, let me know in the comments below.
Step 1: Choose your carpet remnant(s)
If you came to this page because you already have remnants you want to use, feel free to skip to step #2.
But if you don’t have your remnants yet, it shouldn’t be too difficult to find them. You can read more about remnants here, but basically, they are “scraps” of carpet. This can mean pieces with a small defect, or more commonly, just leftover pieces after an old job.
Carpet installation nearly always leaves leftover pieces because of the way seams and patterns have to be matched. This means someone else’s waste is your gain.
The best way to find the remnants is to either go to a local store that carries remnants (you can call around), or contact local installers. They almost always have spare pieces they’re willing to sell (or even give) you.
The design options are endless. You probably have something in mind, but you may get inspired when you see what’s available. There really aren’t any “technical” concerns here. In other words, any remnants will work with me if you like the look.
Step 2: Trim the edges of the remnant
Most carpet remnants will have scraggly edges where the underside or fabric are hanging loose. Before you bind the edges of the carpet into a smooth rug edge these will need to be cut off.
The first thing you will need to do here is laying the remnant out flat on a hard, smooth surface that you are not worried about cutting with a knife. In this step, you can lay out the corrugated cardboard and that will protect your floor from scratches.
Once the remnant is flat, use the straightedge to mark the dimensions of your rug. After you measure the dimensions, use your carpet knife to cut away the extra carpeting and any jagged or frayed ends.
Step 3: Bind the carpet
DIY rug-makers usually do this step in one of two ways. A carpet binding tape is the most popular option, especially for homeowners who do not own a carpet stapler. I’ll go over both:
Carpet binding tape directions (option 1: if you don’t have a binding stapler)
In this step, you’ll use binding tape to “seal” the edge of the carpet remnants. The binding tape I prefer is this one. It works well, holds up, is easy to use, and comes in 22 colors.
Here’s how to use it:
- If it’s not already, make a clean cut on the binding tape to start with a straight edge. Then, peel back the adhesive paper.
- Start in the middle of one of the edges of the rug. Stick the adhesive to the bottom of the rug with the cloth section as close to the rug as possible.
- The binding tape will extend past the corner. To wrap it around the corner, cut the tape only (not the cloth section!) of the binding tape at the end of the rug.
- Next, you can now curl the binding tape around the corner. Put the stick side under the rug like before (it will overlap the tape of the other edge slightly at the corner).
- Now, you can go down the next side of the rug until you get to a corner again, and you’ll repeat this process.
- Once you’ve made a full circle, cut the end of the binding tape to match up as flush as possible with the starting piece.
- Use the hot glue gun to create a bead of glue to connect the two ends.
- Next, use a fine tip nozzle of the hot glue gun to place a thin layer of glue between the cloth part of the binding tape and the carpet remnant. Hold the to together for a few seconds to let it set as you go down the remnant.
- Finished! Let me know if you have any questions in the comments below.
Carpet Edge Binding Stapler (option 2: if you have a binding stapler)
If you have or plan to have a binding stapler for your area rug, this step will look very different. Usually your tool with come with instructions, and I assume most people on this article don’t have access to a binding stapler (or if they do, they already know how to use it–if this isn’t the case, let me know). I’d have to bring in someone else for these instructions because I’ve personally only done option 1 above.
Captain’s parting words!
The finished product is a simple, fun, and inexpensive way to gain an area rug for your home. When company comes over to admire your new floors, feel free to brag about how you made it with your own hands. And then if they really like it, feel free to make another and sell it to them.
Any questions on making a rug out of carpet? Let me know in the comments below.
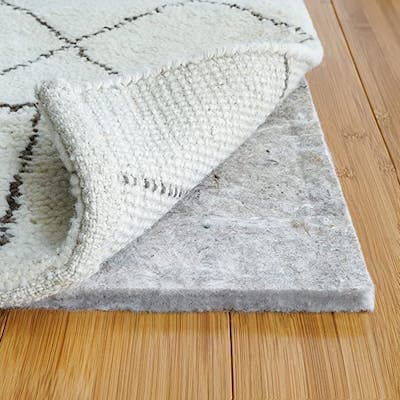 |
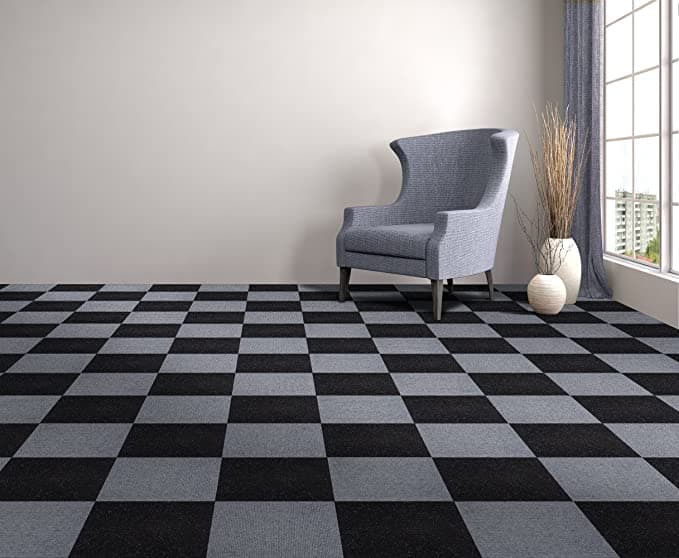 |
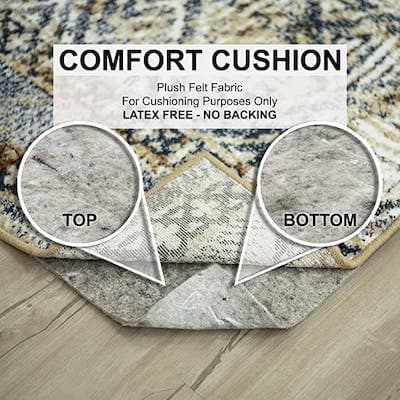 |
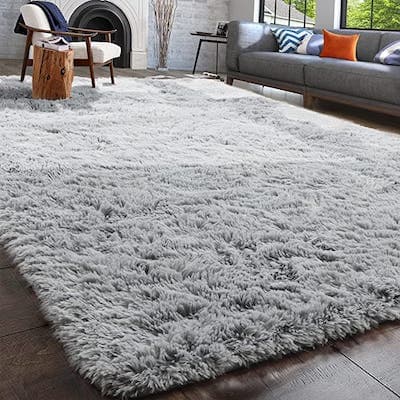 |
 |
|---|---|---|---|---|
| RUGPADUSA Cushioning Rug Pad | Peel & Stick Carpet Tiles (12 sf) | Mohawk Home Rug Pad | PAGISOFE Fluffy Area Rug | Faux Thick Realistic Grass Mats & Rugs |
| 4.5 18500+ ratings |
4.7 1100+ ratings |
4.5 12500+ ratings |
4.3 2000+ ratings |
4.5 1800+ ratings |
| $25 - $100 | $10 - $25 | $50 - $125 | $25 - $75 | $50 - $150 |


Thanks for the informative article. I have carpet that was glued to aluminum panels and want to make a rug. The glue is flexible, doesn’t want to come off so should I back the carpet before binding? If so, do you have any suggestions with what? Thanks!
Do you have someone that will do this for us?
Sorry, I don’t. You could try calling local carpet or rugs stores and see if any will do it for you.
Hello, i just stumbled upon your article and was curious if i had to buy the entire remnant piece or if most retailers could cut the dimension i needed to make the area rug? What’s the general etiquette / protocol when i’m shopping for remnants to make a living room area rug?
Thank you, this is a wealth of information.
Glad it’s helped! It’s definitely not poor etiquette to ask if they’ll cut it. Sometimes they’ll only want to sell a remnant as it is, but other times retailers/installers are perfectly fine cutting off a piece.
Thank you so much for the helpful tips! I wonder if there’s anything cheaper than buying the carpet binding? Purchasing the Binding will make my carpet remnant as expensive as purchasing a cheap 12×9 area rug. Any ideas other than the binding for purchase would be great and very helpfully wanted.
It’s hard to beat the cost of the cheapest rugs even with DIY, but with DIY, you can make a nicer rug. I’ve never seen anyone make it without a binding, but I bet there’s someone artsier and more creative than me who’s done it. Let me know if you find anything, or if anyone else has pulled it off, feel free to share.
How about binding with a calk gun and GE silicone? Just saw that webpage.